There’s that word again. Repurposing. Great word for crafters to keep in mind. Giving leftover bits of sewing, knitting or crocheting a new life. Or even reusing discarded blankets Repurposing Granny Square Blankets
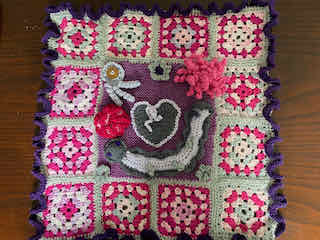
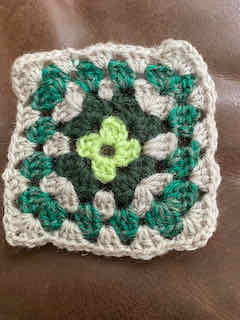
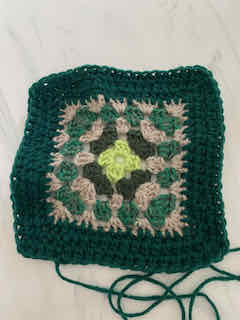
I was given a huge bag of Granny Squares. I have used them around the edges of mats to enlarge the mat and provide interest.
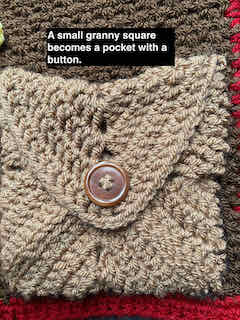
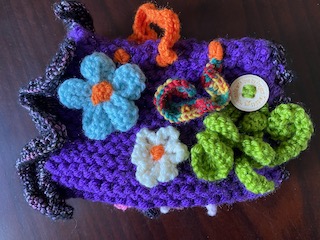
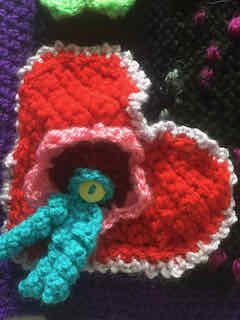
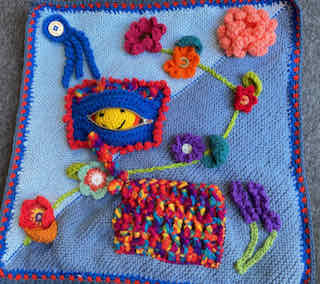
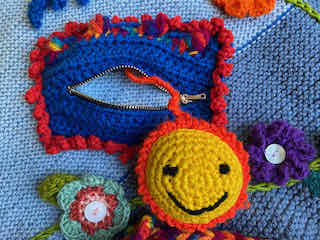
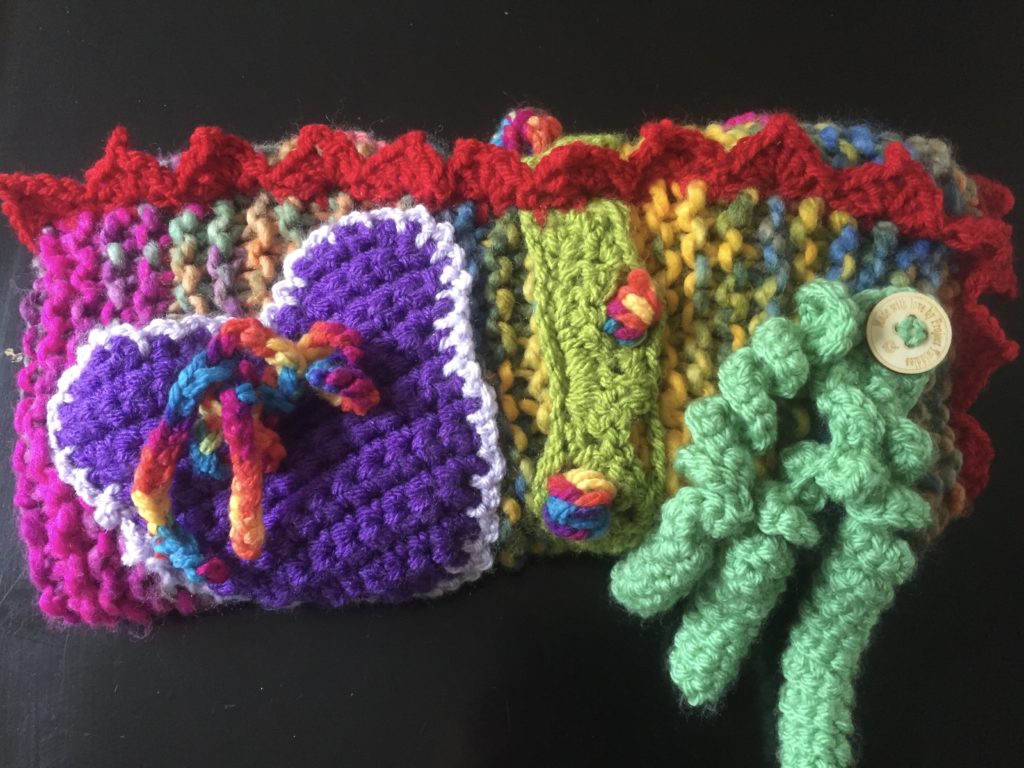
I like putting pockets on the twiddle creations, Everyone loves a pocket! So it made sense to make pockets.
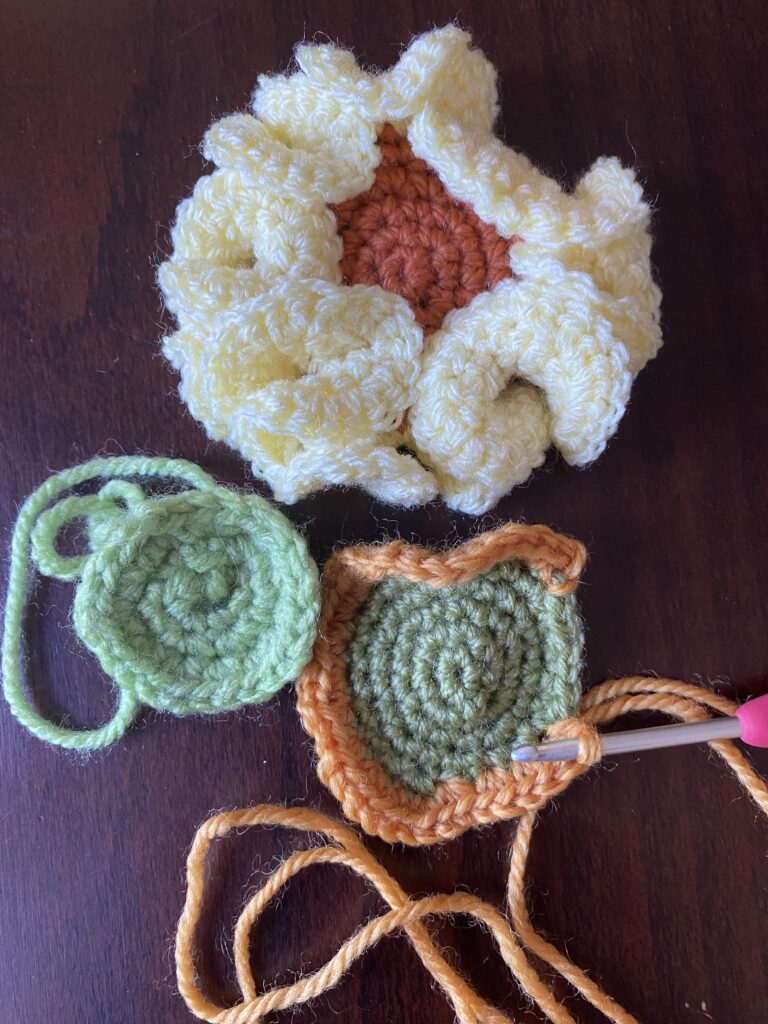
I increased the rounds by using half double crochet stitch. But it could be any stitch. I didn’t worry about different yarn weights.
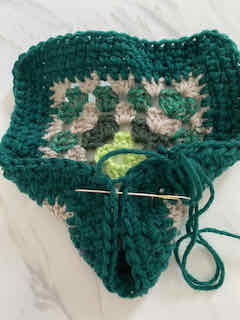
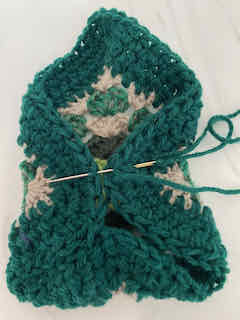
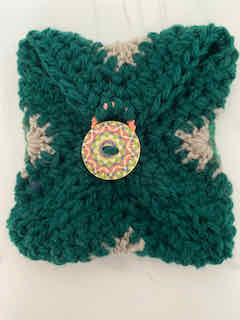
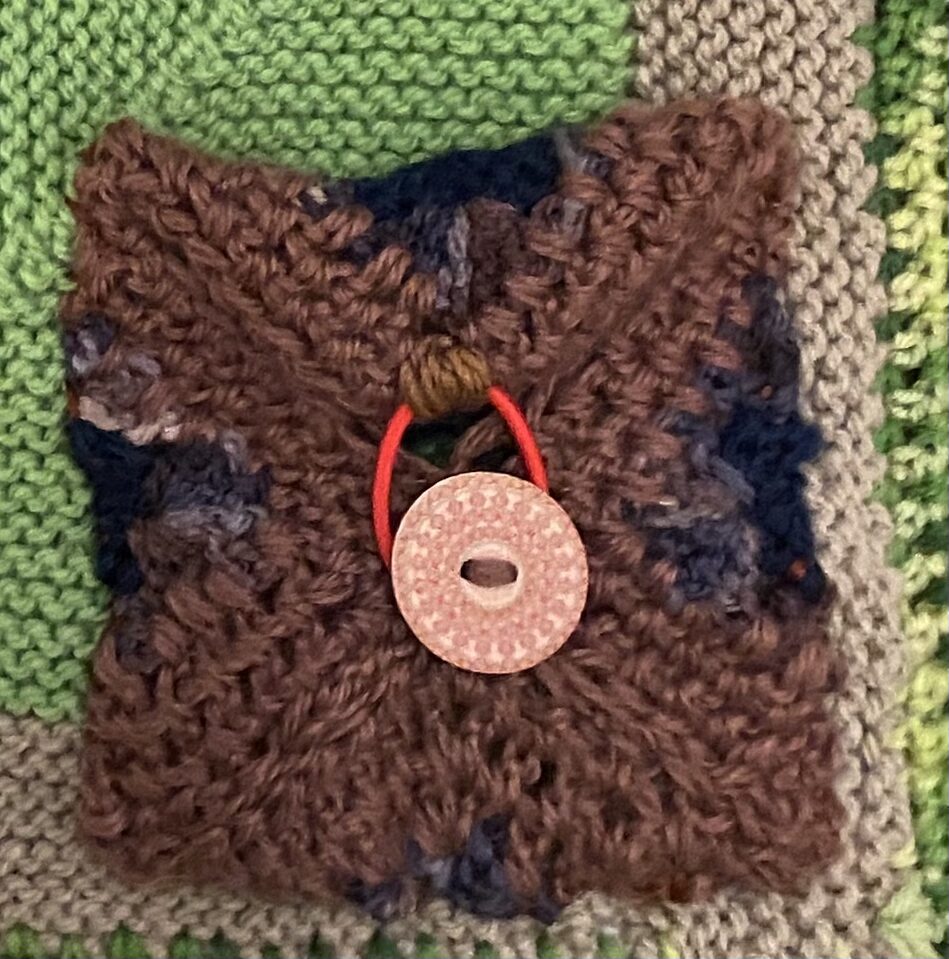
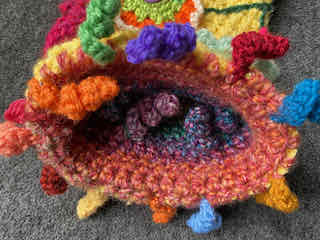
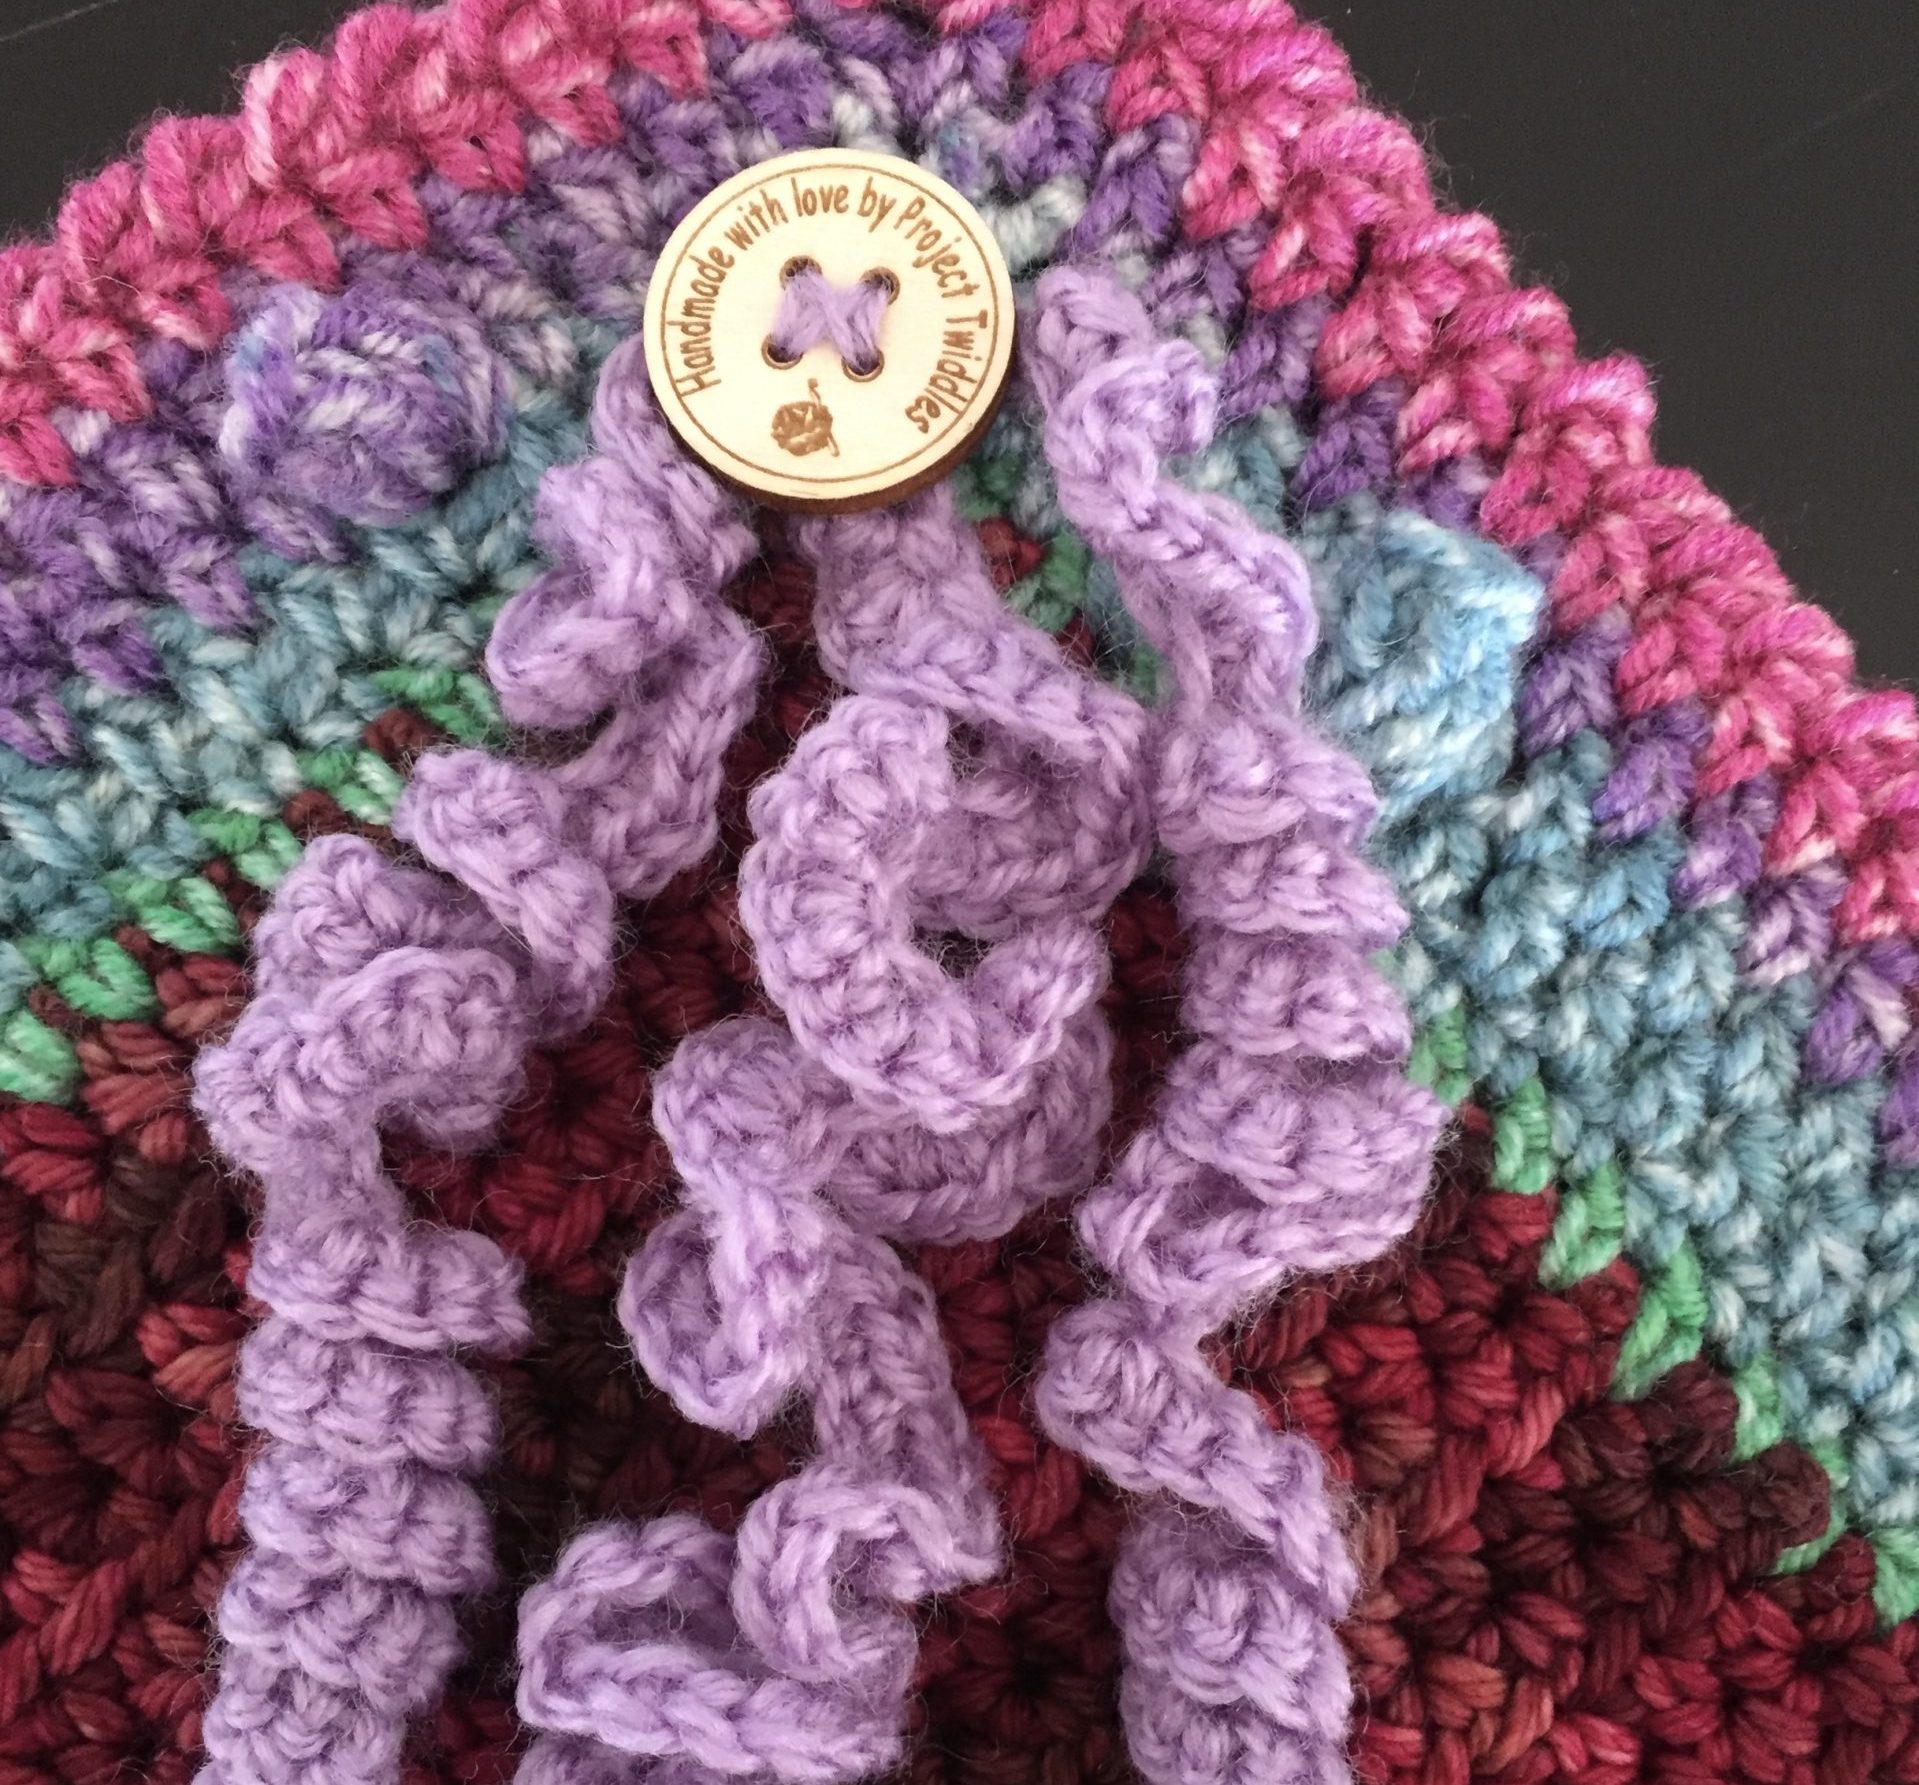
Fold 2 corners together, stitch. Fold a third corner in and stitch. I have place a button in the centre. Sometimes I will crochet a bobble to avoid using buttons for safety reasons. On the top flap I have attached a hair tie securely. And there you have a small pocket ready to be attached to a twiddle mat, cuff or muff.
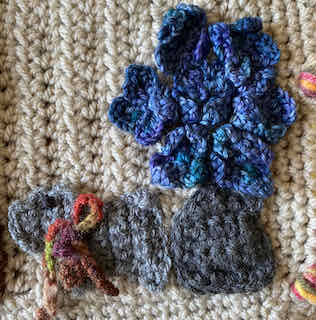
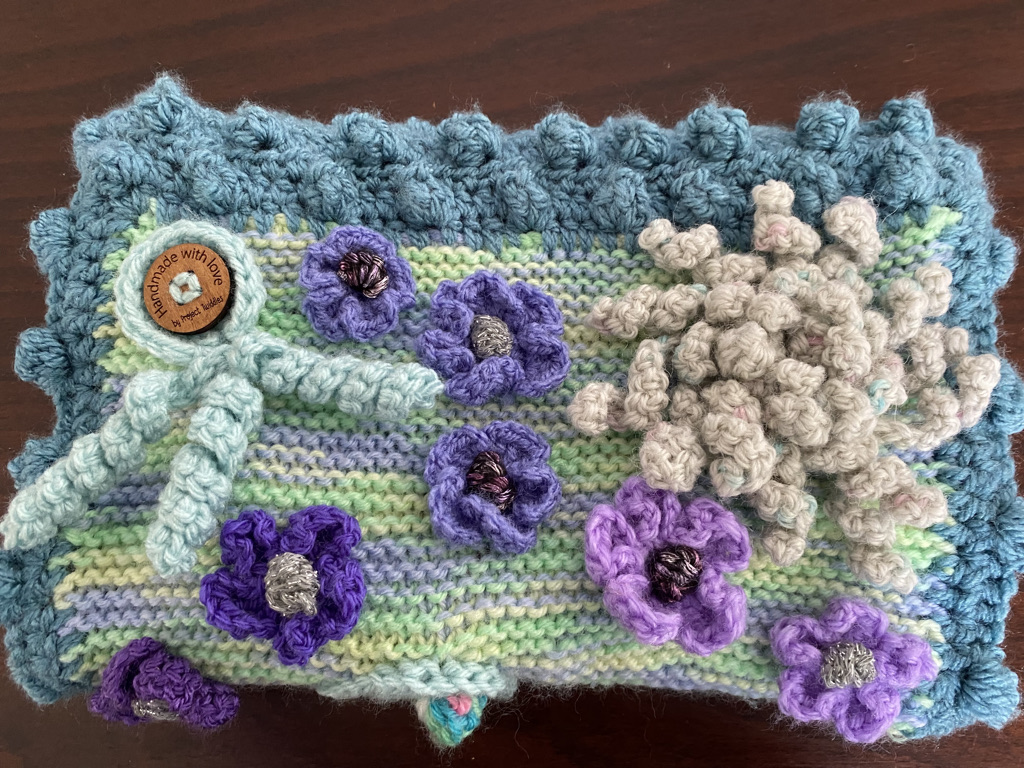
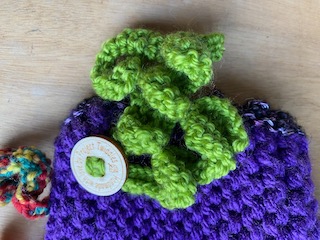
A pocket has been easily attached.
Happy creating everyone!
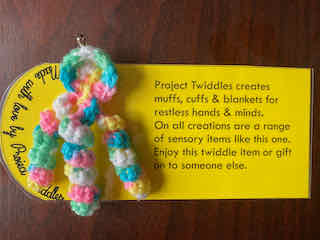
Sandra @ Project Twiddles