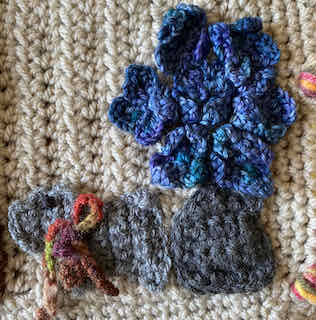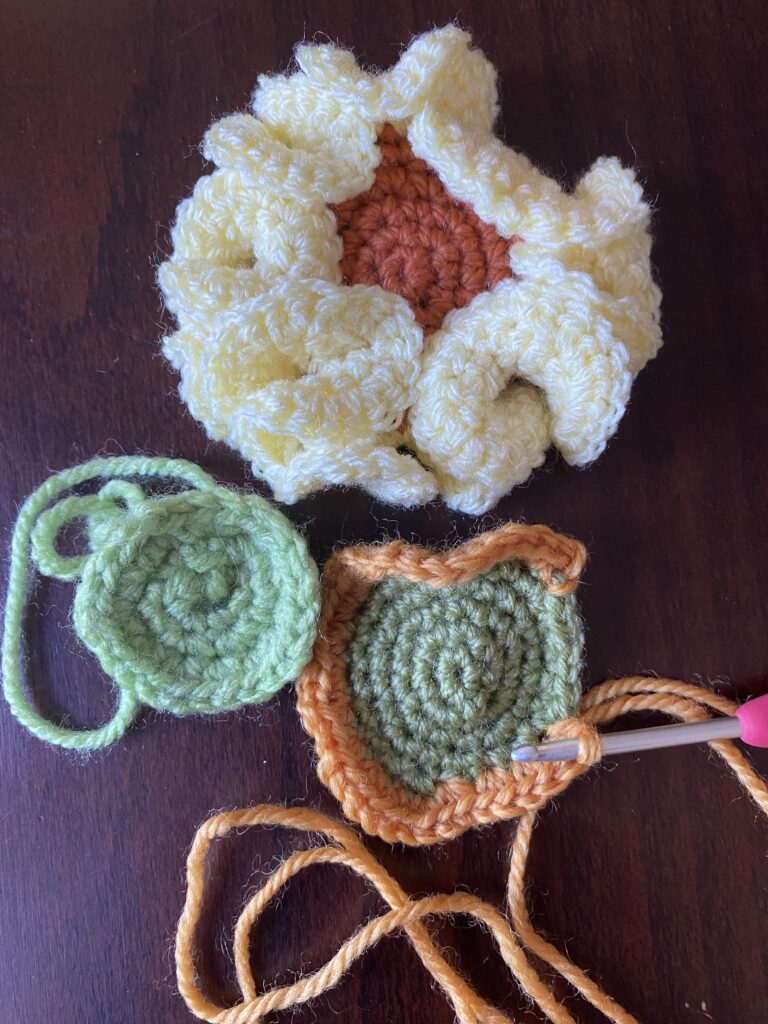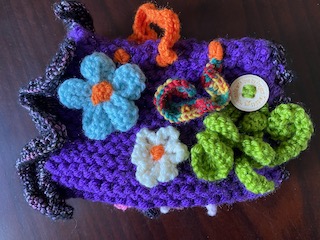
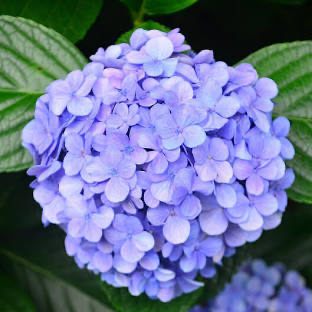
Hydrangeas are one of my favourite flowers. The range of colours, the large flower heads and the way the colour fades from the flowers as they end their life leaving rich pale shades is remarkable.
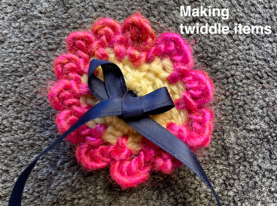
I was so excited when one of my favourite crochet artists and designers produced a hydrangea pattern. Olena from Golden Lucy Crafts has a simple hydrangea pattern.
You can find the pattern here:
https://www.goldenlucycrafts.com/?s=hydrangeas
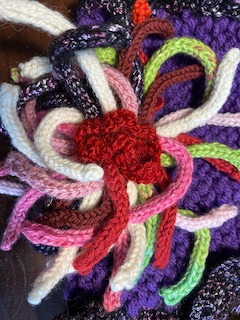
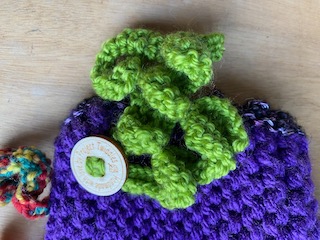
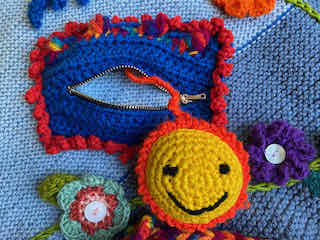
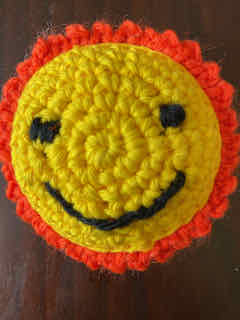
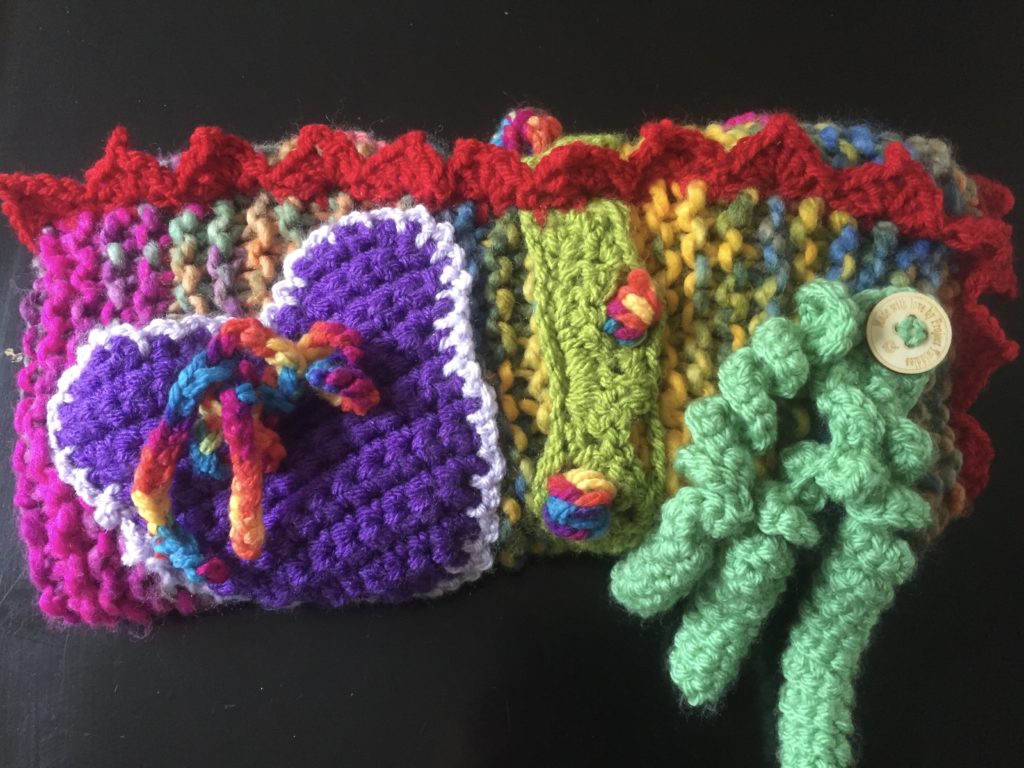
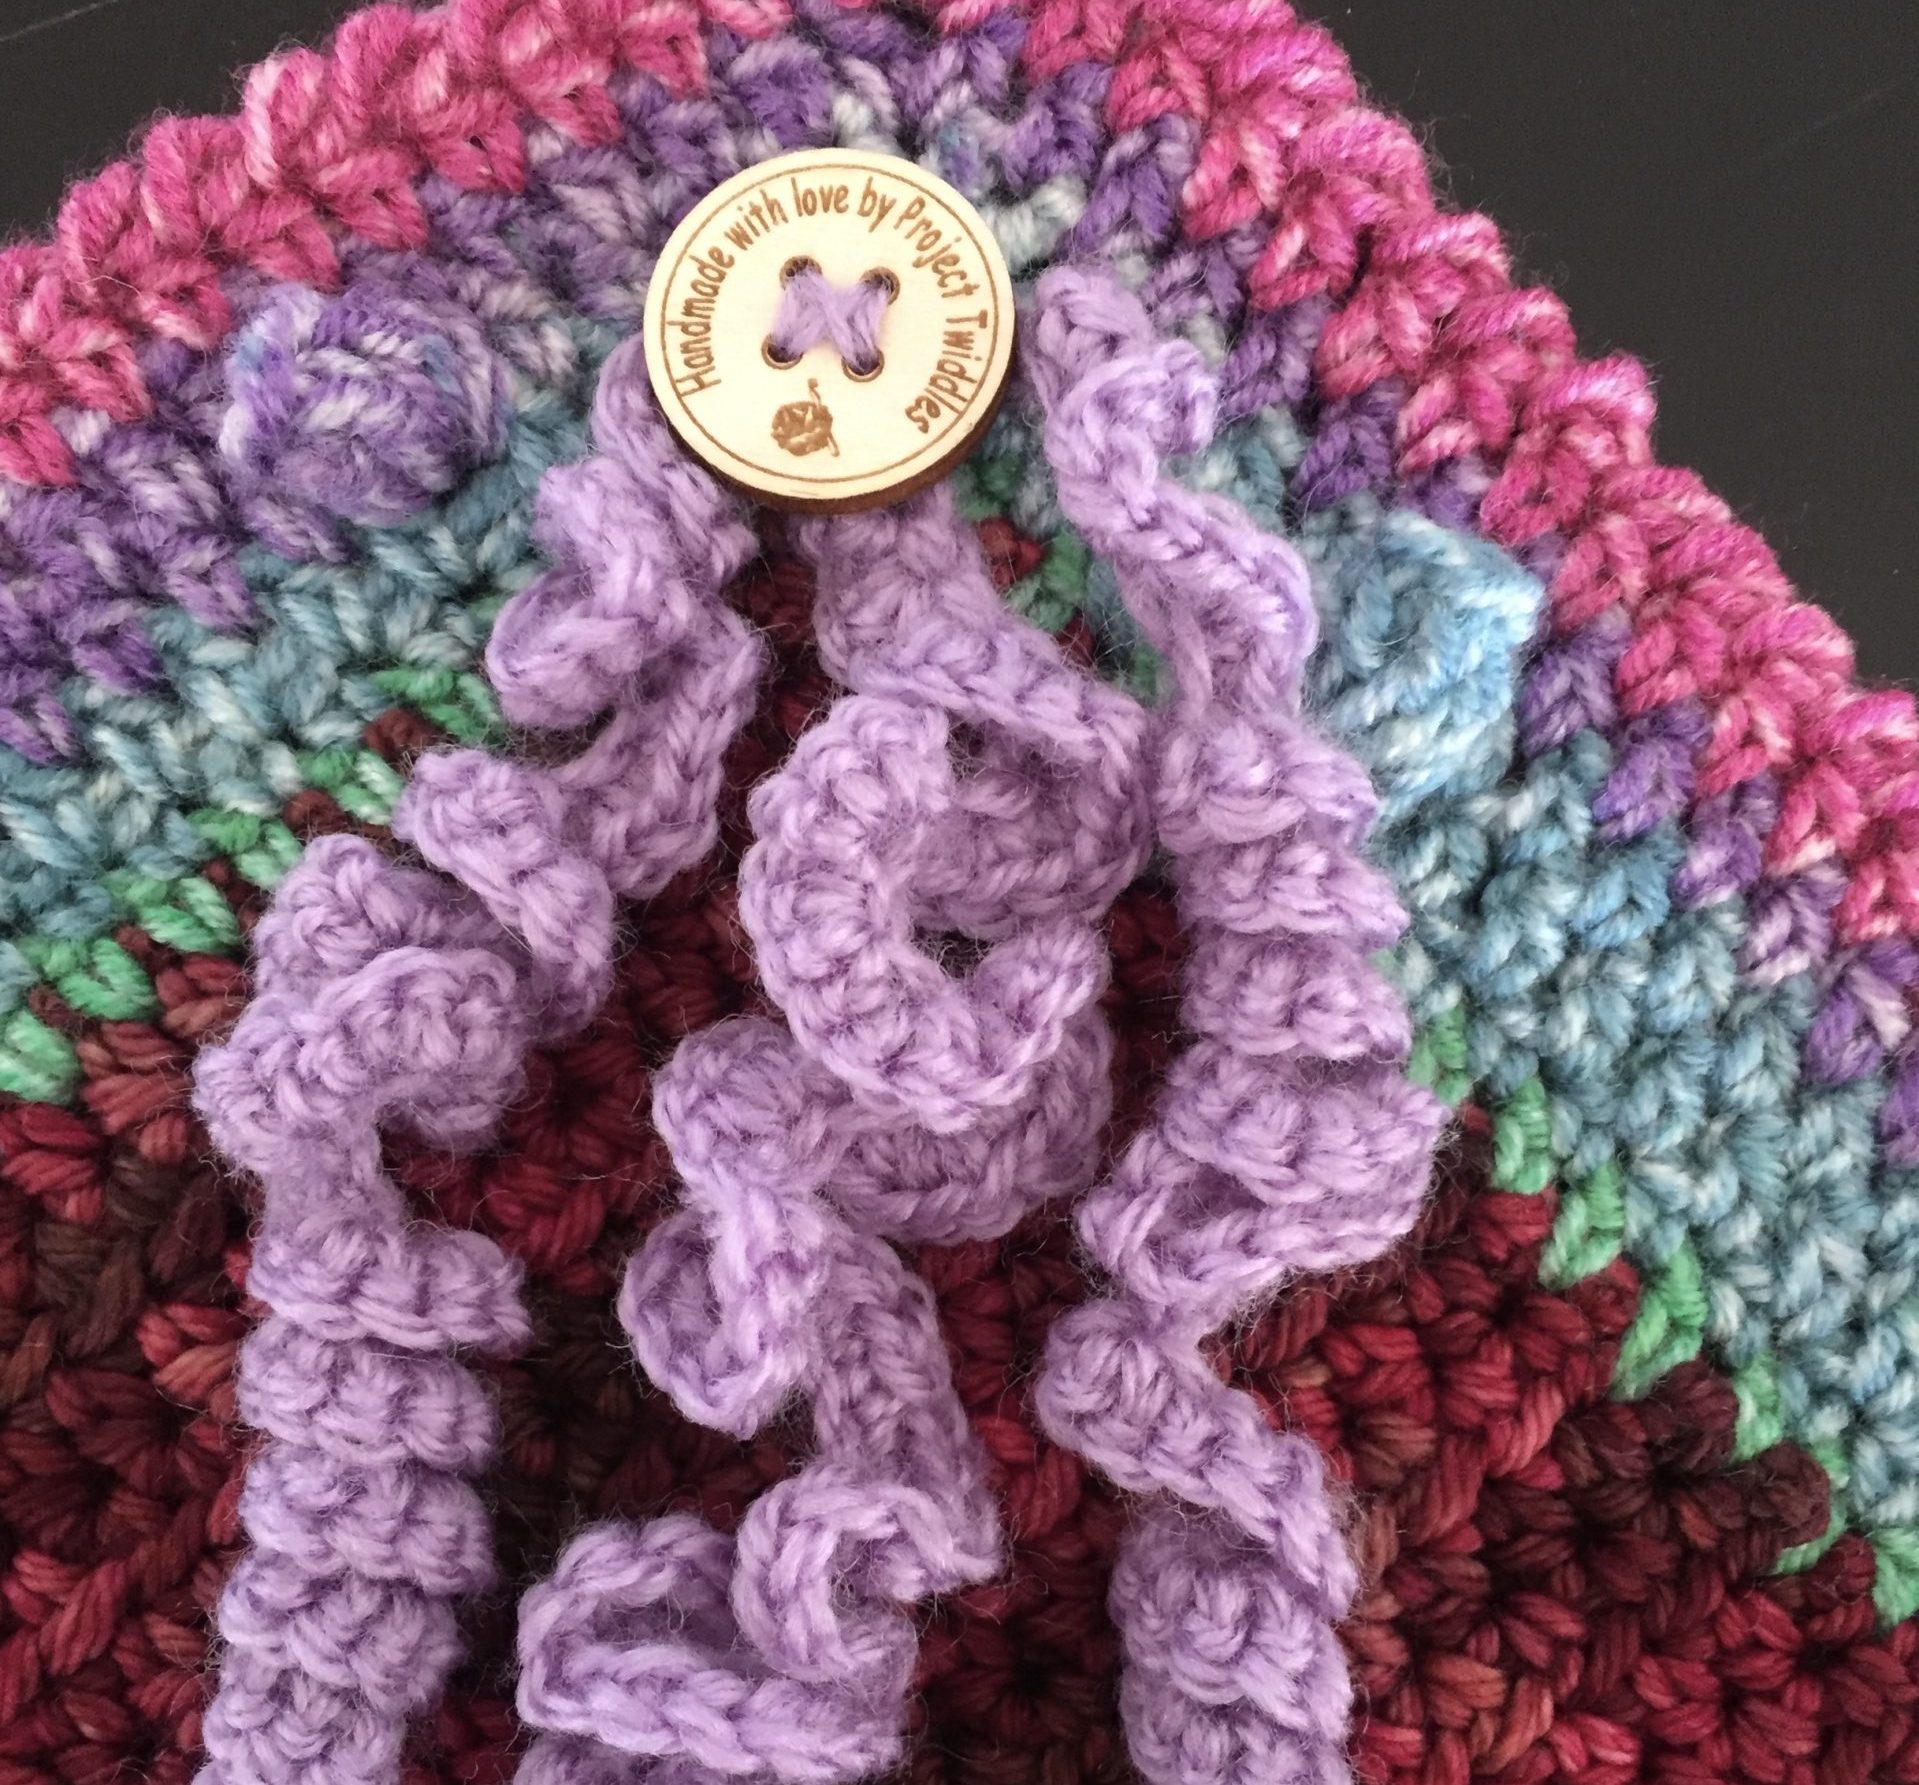
Olena makes wonderful items and often I adapt the patterns to make twiddle items. In this case I have used the hydrangea pattern which she used to decorate her pin cushion.

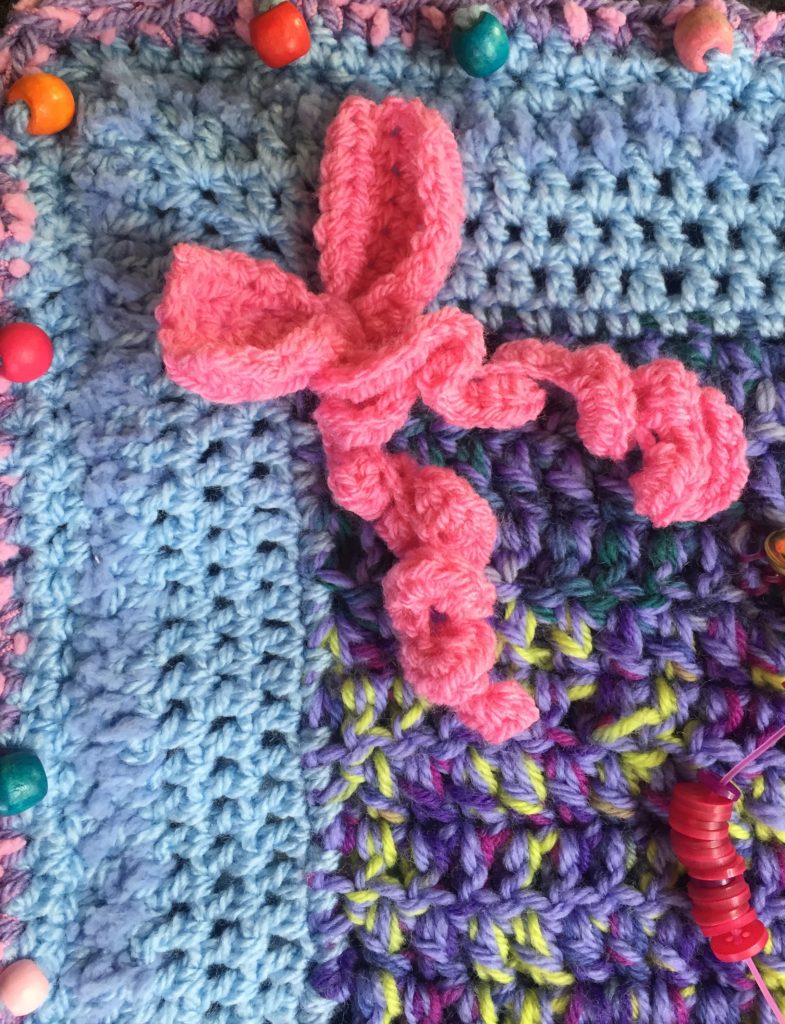
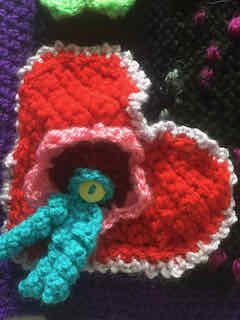
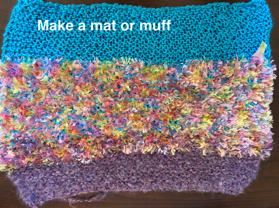
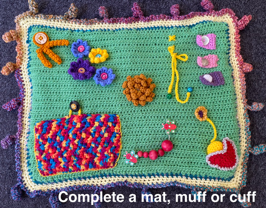
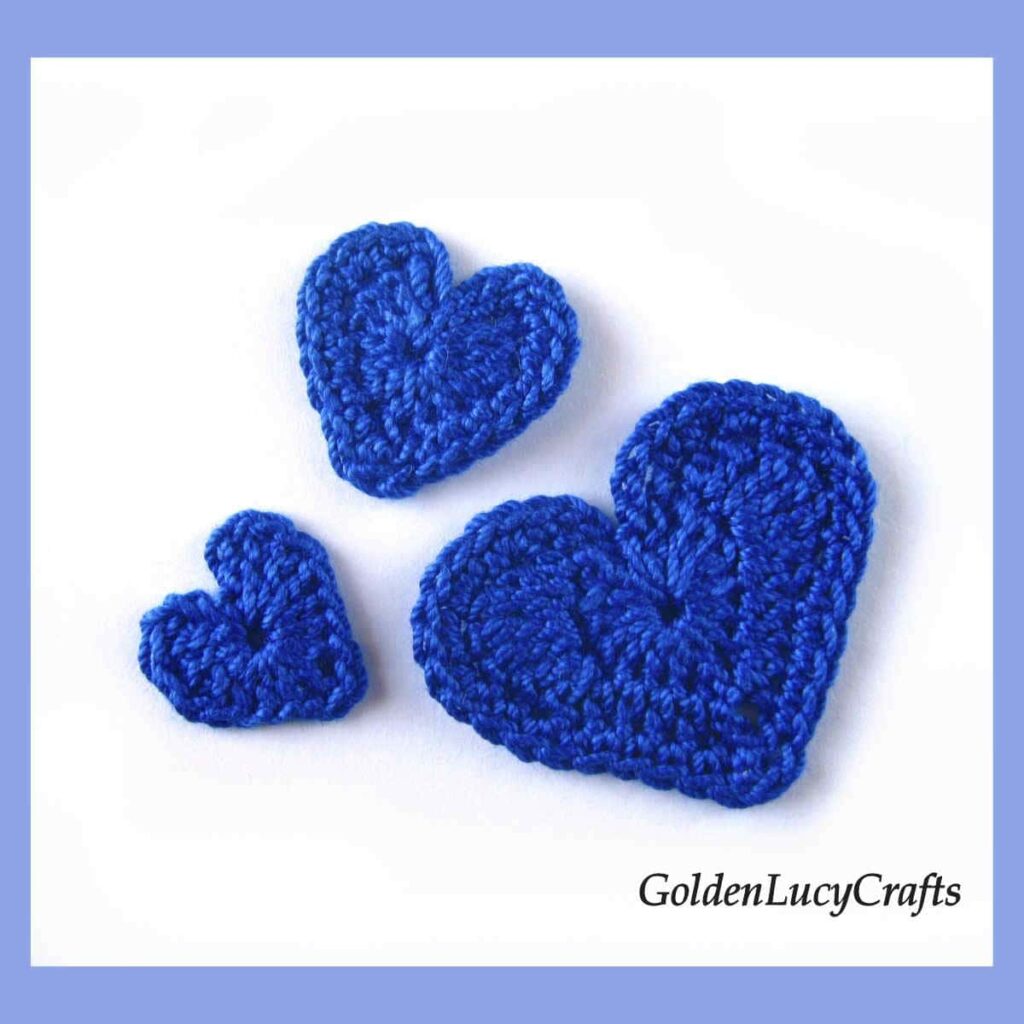
Another pattern, the small hearts are ideal as a decorative item on twiddle muffs, cuffs and mats too. Do explore her site to see what items you could adapt.
https://www.goldenlucycrafts.com/?s=hydrangeas
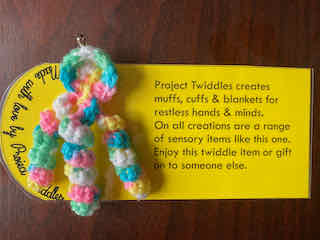
Happy creating everyone.
Sandra @ Project Twiddles