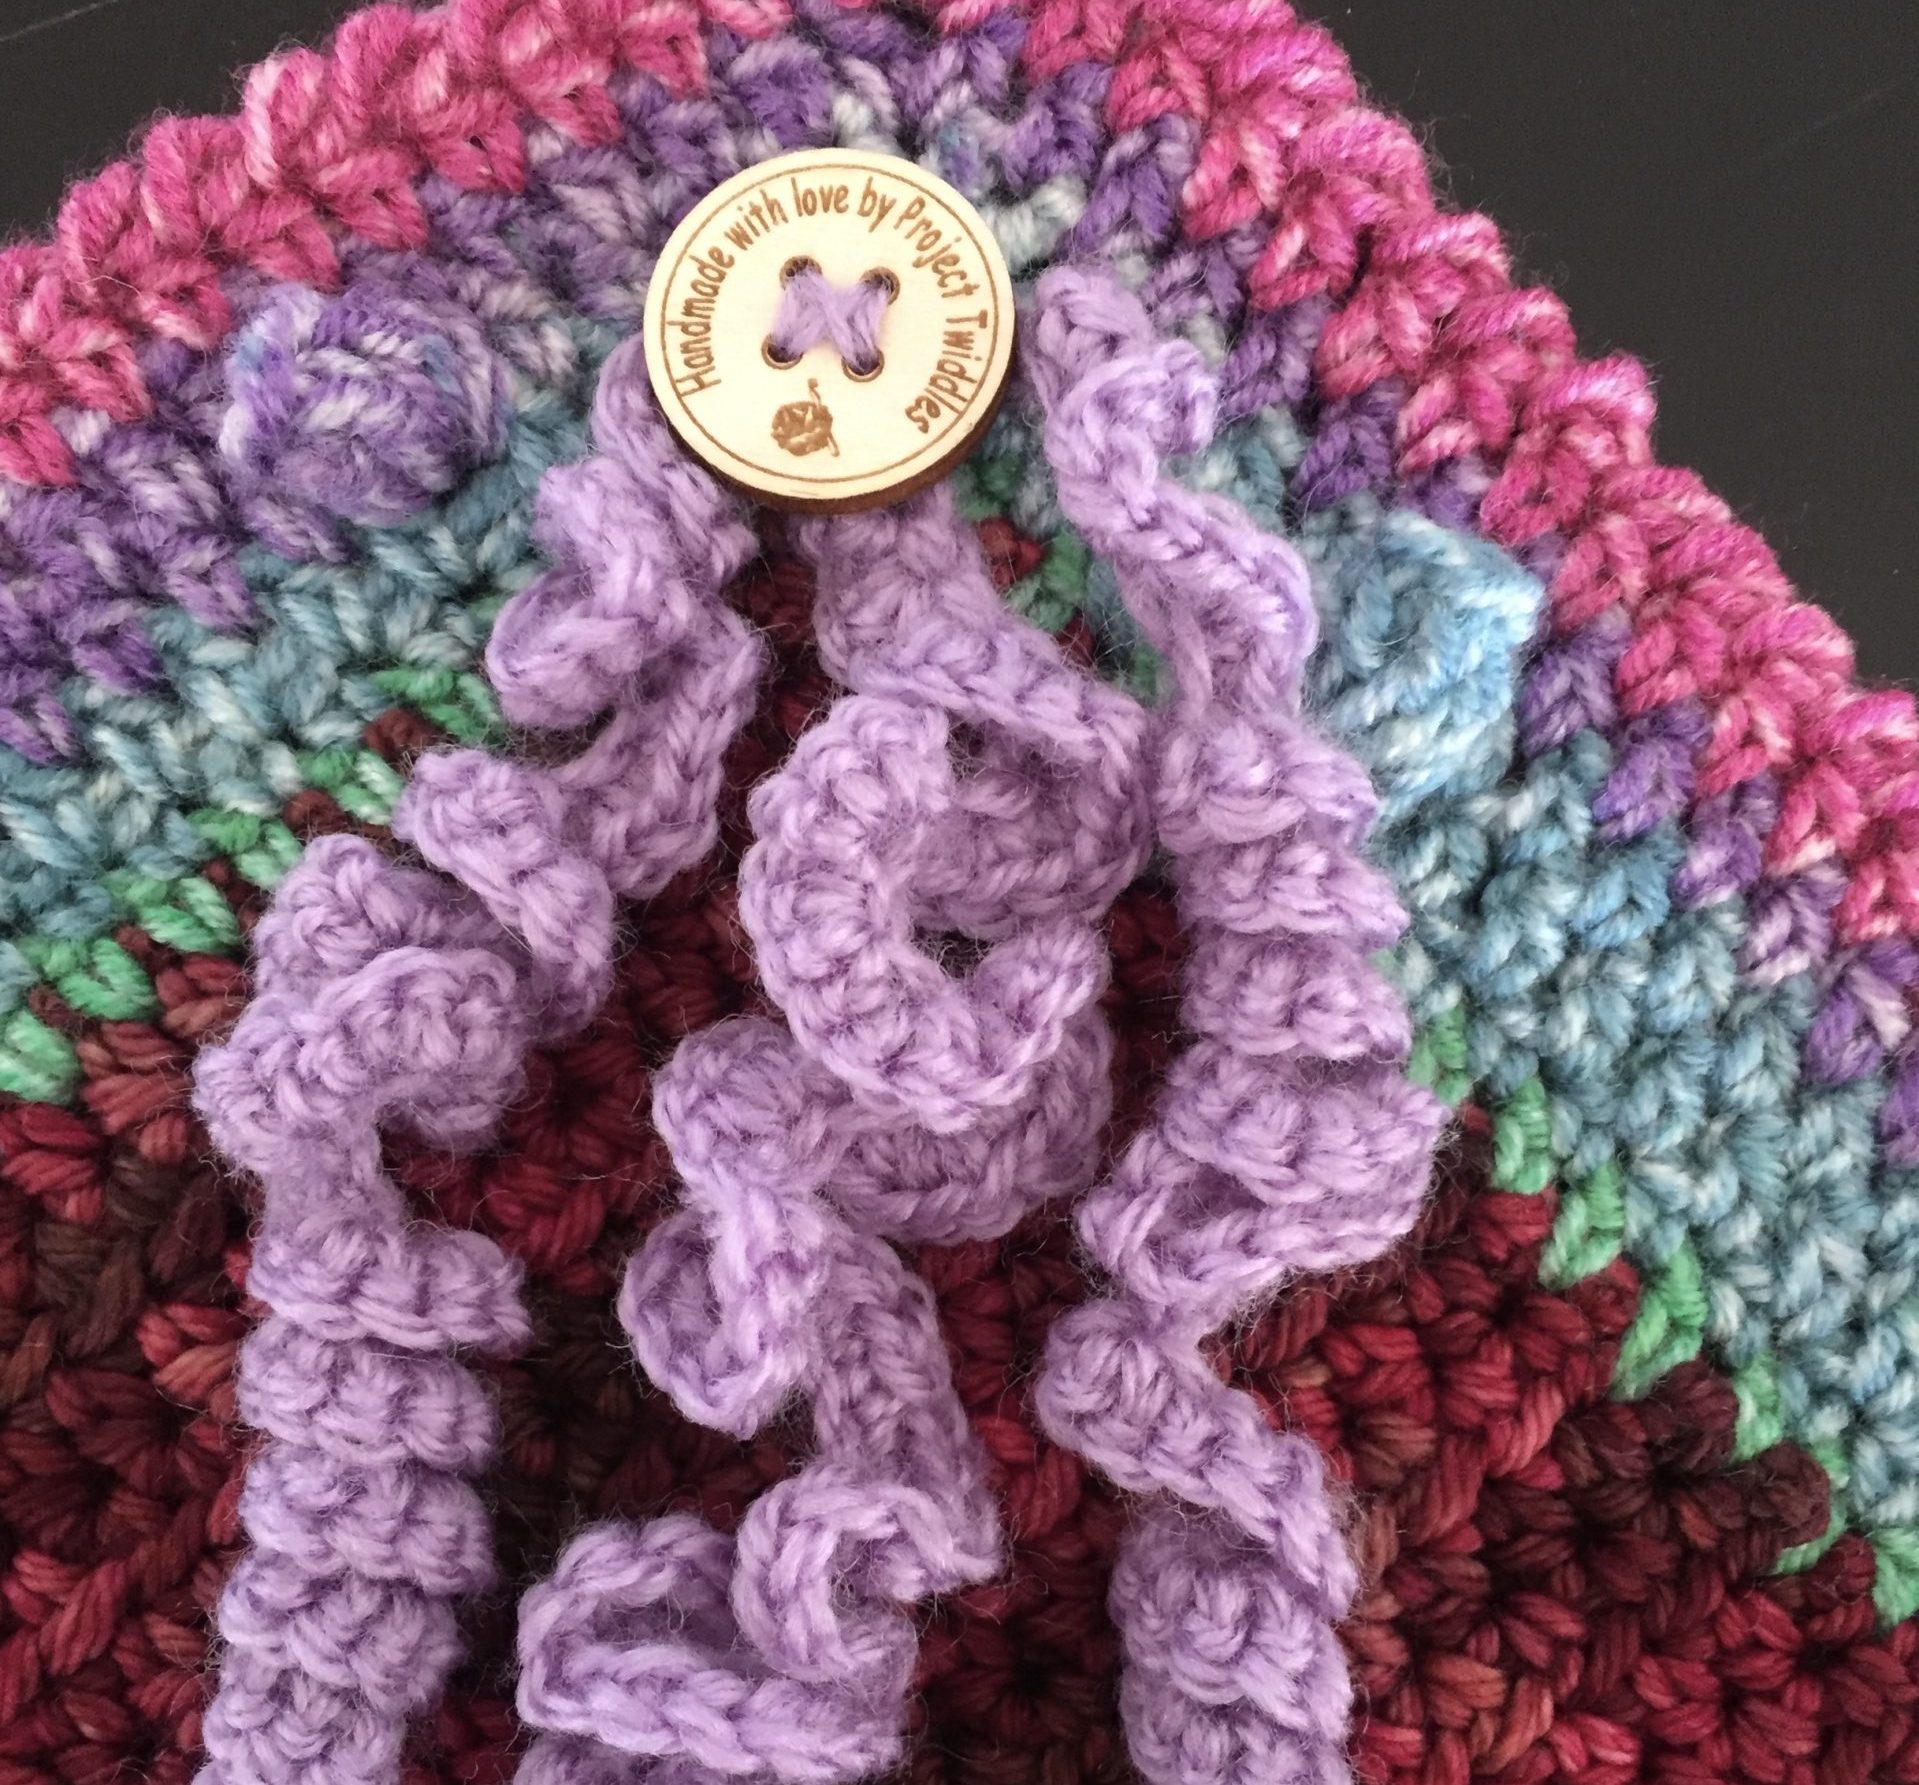
Twirls have become one of my favourite items to add to my twiddle creations. The Project Twiddles twirl is our project’s icon.
When I was making these twirls I asked my granddaughter what to call ‘it’. I liked her suggestion, twirls. So twirls they are! I often attach them by using our iconic buttons to other twiddle items as they are a good item for patients to play with.
Crochet people know them as curlicues. You can find lots of patterns on the internet. Here I am sharing how I make mine. After making many, I have found that the smaller the crochet hook the better the twirl. So have a go!

Chain 2. Place hook in 2nd chain from hook, yarn overcook and pull through. 
Make a single crochet stitch(sc). Repeat 6 times in same place (total 7sc). 
Slip stitch (ss) into top of first stitch. First round completed. 
Chain 2. Make 1 half double crochet (hdc) in same place. 
Continue placing 2 hdc in each sc Slip stitch into top of 1st hdc. Begin long chain. 
Make a chain, 15 to 20 chains. 
Turn & put 2 sc in 2nd chain from hook & every chain back to top. 
Slip stitch into space where chain started. Make 2nd twirl. 
Make 3rd chain. And make your twirl. 3 twirls completed. 
One Project Twiddle twirl completed. 
Twirls can be added to bows. 
Twirl in multiple colours
Happy creating everyone!


